LinkedIn publishing has continued to be a prominent and effective way for professionals to establish their subject matter expertise and grow their personal brand on Linked In. While there is a misconception that re-publishing blogs on LinkedIn will have a negative SEO impact for your website and be a waste of time. Fortunately, that’s not the case.
Today, LinkedIn publishing is an opportunity for many B2B companies looking to drive leads. It’s a great opportunity to engage your connections and drive website visitors. So let’s dive in—here’s how to publish on LinkedIn (if you don’t have a LinkedIn profile that’s fully optimized you’ll want this):
Step 1: Add text
To start, you’ll need a blog/article/written piece you want to publish. As a best practice, I recommend publishing your post on your blog or website first. We’ll come back to why later.
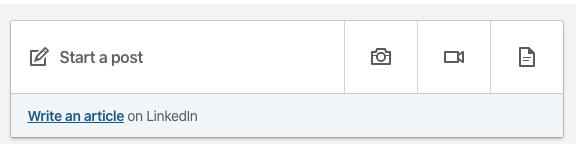
When you are ready to post your piece on LinkedIn, go to your news feed. There, you’ll see an area where you can share different types of content. You’ll want to select “Write an article”.
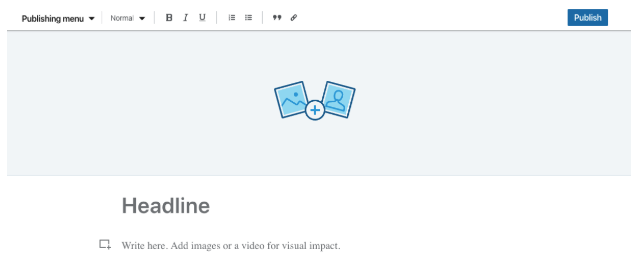
From there, add your headline and text. If you are reposting a blog or another written piece that has already been posted elsewhere, try changing up the headline. I’ve found that the most shared headlines start with:
- We need to…
- The role of…
- How to avoid…
Don’t forget to incorporate points of promotion within the text. Remember above, when I mentioned posting your content on your site first? This is important because you can then link back to the original post. Here’s an example of what I usually do:
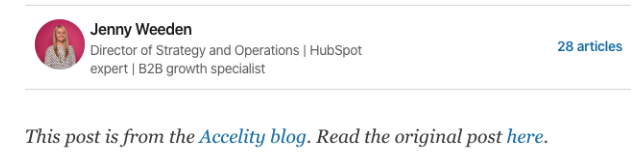
Don’t forget about promotions at the end of the post as well. This is usually a good time to introduce who you are and to link back to your site again. Here’s an example:

Make sure to add links throughout your post as well, to your site, as well as other relevant sites. But don’t go overboard. Try to add one link for every 150 words in your post.
Step 2: Add videos & images
Visuals are key to your posts (they are so important we wrote a blog about it). In fact, at the top of the draft is an area for you to add a post image. So pick wisely, and make sure your image represents your content.

You can also add videos and images throughout your post. To do so, simply click the ![]() sign on the margin of the draft page. From there, you’ll be able to add your media.
sign on the margin of the draft page. From there, you’ll be able to add your media.

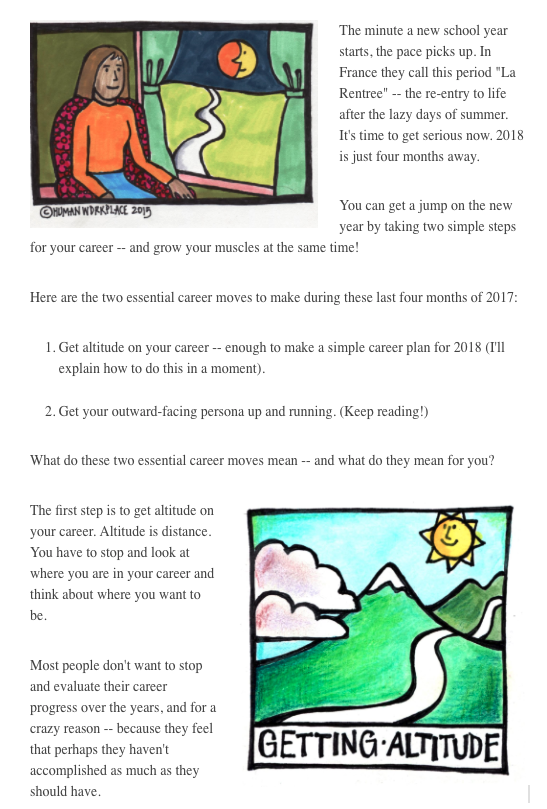
As a best practice, your media should match your company brand. One great example of a LinkedIn publisher who has strong, cohesive branding is Liz Ryan. She keeps imagery consistent and unique, so you know the post comes from her. Here's an example:
Step 3: Make sure you have a call-to-action
Sure, you have links back to your site throughout your post that will drive website traffic, but ask yourself, “What do I want my readers to do once they’ve read through my post?” Your CTA should encourage your audience to take that desired action.
Many people have other content they can direct their readers to. For example, I recently posted about social selling tips and shared a link to our social selling ebook. I also really like asking for feedback in the comments. See here:

If you don’t have much content, or don’t have anything relevant to link back to, don’t worry. One of the biggest missed opportunities is simply asking for people to share your article. If you don’t know what your readers should do next, ask them to share your post!
Step 4: Publish!
Once you’ve added all your post elements and checked it over, you’re ready to publish by clicking the blue button in the top right-hand corner of your draft.

When you publish, your connections are notified that you’ve published a post. You’ll also have the option to share on your newsfeed. If you want to share in the news feed, make sure you add text to your post that discusses the content of the article and why someone should read it (answer what’s in it for them).
Step 5: Expect a response
Simply publishing your article isn’t where this story ends. Expect your audience will respond by liking, sharing and commenting on your article!
Be ready to engage with these people. For example, if someone shares your post, send them a quick thank you. If someone comments on it, respond back.
The point of posting on LinkedIn is to engage an additional audience, so if you can do that well, you’ll extend your network and gain new clients.
There you have it—the basics for how to publish on LinkedIn. Do you have any other ideas to add to this list? I’d love to hear any best practices you’ve used in the comments below!